A glass cabinet upgrade brings refined light and a modern sense of openness to rooms. Planning before work begins saves time and avoids avoidable mistakes. Measure carefully, then choose material that matches daily routines and safety needs. Gather tools and set aside a clear workspace to keep panels steady while fitting. Label doors to prevent confusion during reassembly and keep fasteners in a small container. Use simple tests to confirm chosen glass samples match the color and transparency goals. When unsure, seek brief guidance from an experienced installer or a trusted supplier. Small trials reduce risk and increase confidence before committing.
Design Choice
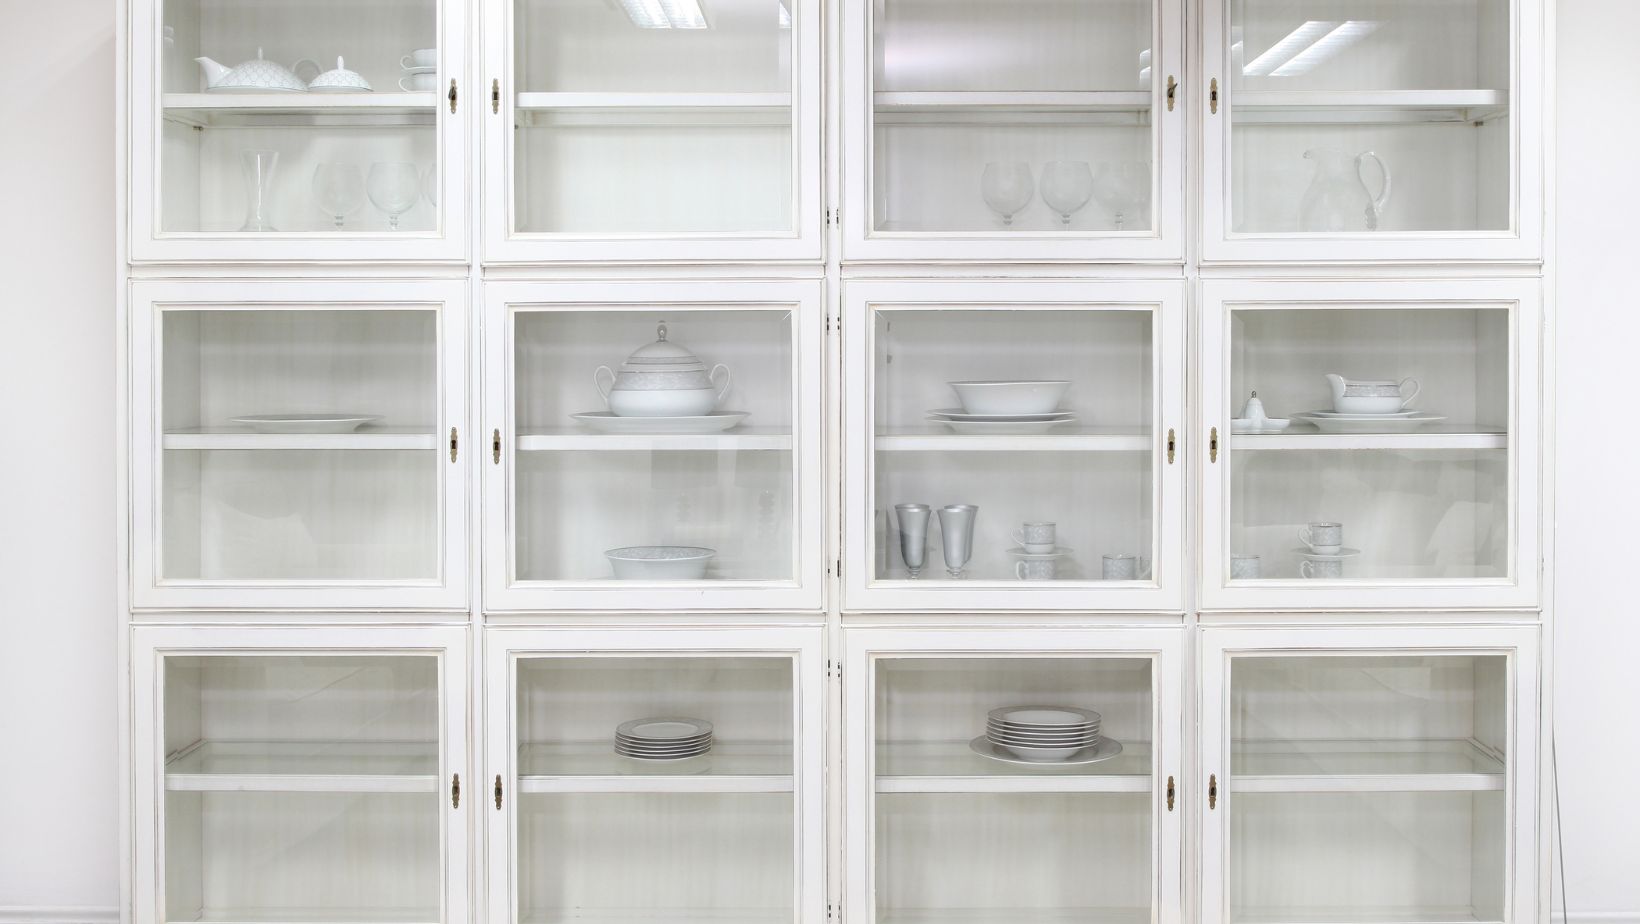
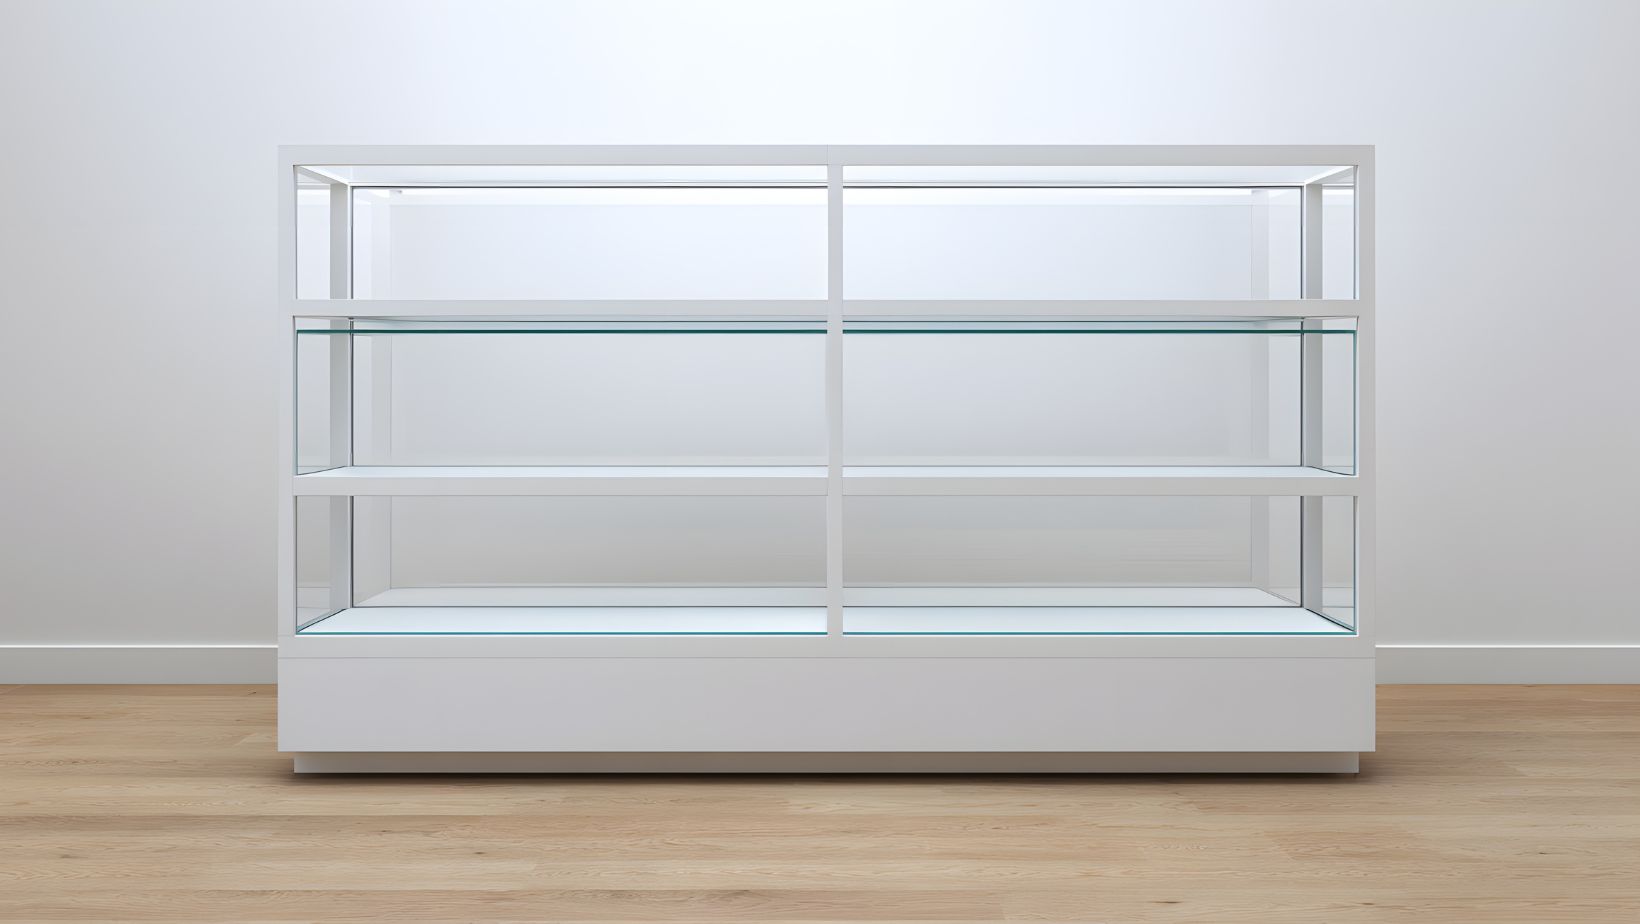
Selecting the ideal glass for cabinet doors affects mood, light, and perceived room size. Think about how much you want to reveal of stored items to visitors, then pick a style that matches daily needs. The cabinet door glass inserts provide a simple route to add transparency without major carpentry. Consider how frame color, hardware finish and shelf layout will interact with glass to create a cohesive result. Tempered options add a layer of safety while laminated choices protect fragile displays from sudden impact. If antique character appeals to you choose mullion patterns or leaded panels that respect the original look. Match edge treatments and sealant color for a seamless appearance that avoids visible gaps or irregular reveals. Careful measurement and clear notes reduce errors while providing installers with exact data for efficient delivery and fitting. Label each panel clearly now.
Glass Types
An overview of common options helps match function with the chosen aesthetic and budget. Note opacity, texture, and safety.
• Clear float panels offer an unobstructed view while maintaining crisp, modern presence
• Frosted glass diffuses light softly while obscuring contents for a tidy display
• Textured surfaces scatter highlights and hide clutter while keeping brightness in cabinets
• Beveled edges add subtle depth by catching light without overwhelming surrounding decor
• Tempered panels resist breakage under stress, offering safer handling and calmer minds
• Laminated glass holds fragments together to reduce injury risk while remaining functional
Preparation Steps
Proper preparation reduces surprises during installation and improves final fit. Begin by removing doors carefully, then lay them flat on padded surfaces on saw horses or a soft table top. Label hinges and marks each door so reassembly returns parts to their original locations without mix-ups. Clean tracks, frames, and hinge areas, removing old sealant glue and debris so new parts sit evenly without gaps. Check for rot or warping then repair or replace sections that will compromise a tight fit before glazing work. Select the correct thickness of glass to match door depth and choice of mounting hardware to avoid binding. Gather glue style or gasket materials recommended by the manufacturer and arrange tools in the order they will be used. Invite help for heavy panels to avoid slips while positioning then use clamps to hold parts steady during final fastening.
Measurement Tips
Accurate marks and consistent methods reduce errors then speed installation with fewer surprises on site. Use proper tools.
•Measure width and height at three points to capture variance from warping
•Record inside and outside frame dimensions to confirm recess depth for glass
•Note hinge positions by measuring from consistent reference edges to maintain alignment
•Allow minimal clearance for gaskets to avoid binding while allowing glass expansion
• Double-check cut tolerances against hardware specs to prevent tight spots later
•Label each measurement on the door face and inside edge for accurate ordering
Mounting Hardware
Choose clips, gaskets, or full frame mounts that match door style and load, and confirm screw length early.
•Surface clips attach without routing offering a retrofit option for doors
•Rebate mount fits into a routed channel to hide fasteners from view
•Gasket strips cushion glass and permit small movement while preventing loose rattles
•Continuous hinges distribute weight along the height for heavy glass panels and stability
•Corner brackets support thin frames that would otherwise flex under long loads
• Quick-release fittings speed cleaning by allowing panels to come out without unscrewing
Installation Process
A careful step by step method makes installations neat, consistent and durable. Begin by removing doors from hinges then lay them on a stable padded surface with soft cloth to avoid scratches. Place gasket or sealant into the channel then seat the glass while holding it steady to maintain alignment. Set clips loosely so you can shift panels slightly to achieve equal reveal on all sides before final tightening. Tighten fasteners in a cross pattern to prevent stress points then verify that doors open and close without binding. Allow recommended cure time for any adhesive or sealant before re-hanging to avoid slips that lead to damage. If glazing requires paint touch-ups, mask surrounding finishes first to keep edges sharp, then apply minimal coats.
Finishing Touches
Small choices deliver polish, extend life, and improve daily use through careful final adjustments and lighting placement tips.
• Touch-up paint hides chips, creating a consistent frame color for doors
•Install matched hardware to tie new glass fronts into the cabinet’s design
•Add interior lighting to highlight collections while improving visibility during evening hours
•Apply shelf liners to keep fragile items steady while reducing noise and movement
•Fit soft-close hinges to prevent slams, protecting glass during daily use
•Check seals and tighten clips after one week to catch minor shifts
Maintenance Advice
Simple routines keep glass clear, extend longevity, and prevent costly repairs over time. Check seals and clean tracks monthly.
•Clean glass with a soft cloth and mild cleaner to avoid scratches
•Avoid abrasive pads that wear the surface and create dull patches over time
•Tighten fasteners gently to maintain proper clamp pressure without cracking glass edges
•Replace worn gaskets promptly to keep dust out and avoid uneven stress
•Store spare clips and screws in a labeled box for quick access
•Schedule a light inspection after one month to catch settling issues early
Glass Cabinet Finish
Bringing glass into cabinetry renews visual appeal while improving function and display. A clear plan that covers measuring hardware choices and installation steps reduces surprises while saving time. Choose safe glass types, then match mounting methods to door style for a durable outcome. When work seems complex, consider a professional who can deliver precise cuts and a proper fit with care. Testing one sample panel first helps verify aesthetics and fit before ordering multiple units. For tailored installations, seek providers who list cabinet door glass inserts for accurate custom work. Keep documentation of sizes, hardware, and finish choices for future reference.