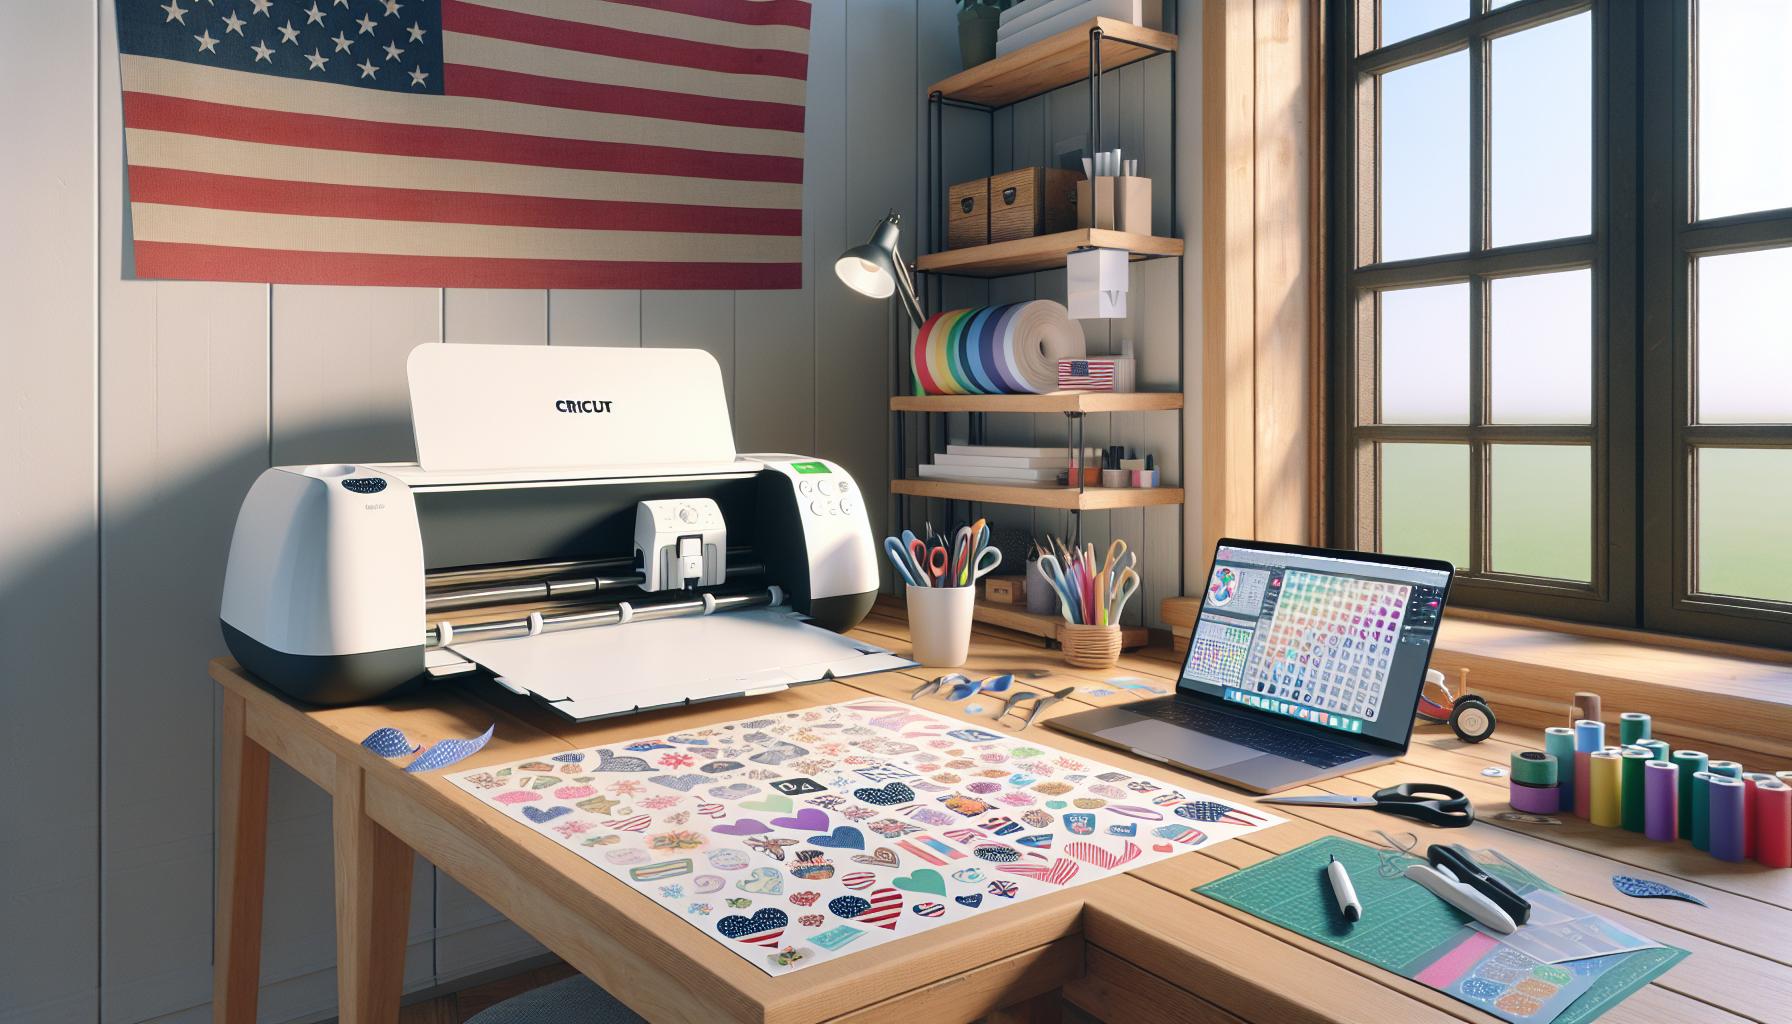
Designing stickers for a Cricut machine opens up a world of creativity and personalization. Whether for personal projects or small business ventures, custom stickers can add a unique touch to any item. With the right techniques and tools, anyone can transform their ideas into vibrant, eye-catching designs.
Understanding the basics of sticker design is crucial for achieving professional results. From choosing the right software to selecting materials, each step plays a vital role in the process. This guide will walk you through essential tips and tricks to help unleash your inner designer and create stunning stickers that stand out.
Table of Contents
ToggleHow to Design Stickers for Cricut
Cricut stickers offer a versatile medium for creativity, enabling customization for various projects. Understanding these stickers’ characteristics and applications empowers users to optimize their designs.
What Are Cricut Stickers?
Cricut stickers are adhesive labels created using a Cricut cutting machine. These stickers feature various designs, sizes, and themes, providing adaptability for personal or commercial use. Produced from materials such as vinyl or paper, Cricut stickers allow for easy application on multiple surfaces. Users can create unique designs through compatible design software, resulting in custom stickers tailored to specific needs.
Popular Uses for Cricut Stickers
Cricut stickers find applications across numerous areas, enhancing creativity and functionality. Common uses include:
- Personal Projects: Creating decorative labels for planners, journals, or scrapbooks enhances organization and aesthetics.
- Event Decoration: Designing themed stickers for parties, weddings, or celebrations adds a personalized touch to the decor.
- Brand Promotion: Businesses often use custom stickers for branding, marketing materials, or packaging, helping to increase visibility.
- Home Decor: Applying stickers to walls, furniture, or decor items provides a creative flair and easily transforms spaces.
These uses illustrate the flexibility of Cricut stickers, making them a valuable asset for both individual and commercial projects.
Essential Tools and Materials
To design stickers for a Cricut machine, specific tools and materials enhance the creative process and ensure high-quality results.
Cricut Machines
Cricut machines serve as the primary tool for cutting stickers. Models like the Cricut Maker, Cricut Explore Air 2, and Cricut Joy each offer unique features. The Maker provides versatility for various materials, while the Explore Air 2 excels at detailed cuts. The Joy is compact and ideal for smaller projects. All models utilize a fine-point blade for precision cutting, which is essential for intricate sticker designs.
Software for Designing Stickers
Software options play a crucial role in sticker design. Cricut Design Space functions as the primary platform for creating and customizing designs. It allows users to upload images, use built-in templates, and access extensive design libraries. Other popular software includes Adobe Illustrator and Inkscape. Adobe Illustrator offers advanced design tools, while Inkscape provides a free alternative with robust features. Selecting the right software enables flexibility and creativity, allowing users to create unique sticker designs tailored to specific projects.
Step-by-Step Guide to Designing Stickers
This guide provides a structured approach to designing stickers specifically for a Cricut machine. Follow the steps outlined below to create professional-looking stickers.
Choosing Your Design
Choosing a design requires careful consideration of the desired outcome. Select a theme that aligns with the project’s purpose, whether personal or commercial. Design elements can include patterns, illustrations, or text. Use design inspiration from websites, social media, or art communities to generate ideas and establish a unique style.
Preparing Your Design in Software
Preparing the design in software involves converting initial concepts into digital formats. Users can start with Cricut Design Space for straightforward projects, utilizing its built-in templates and shapes. For more complex designs, software like Adobe Illustrator or Inkscape offers advanced features. Users can create vector graphics, enabling scalability without loss of quality. Ensure to save designs in compatible formats, such as SVG or PNG, to streamline the cutting process.
Sizing and Formatting for Cricut
Sizing and formatting are crucial for achieving the right sticker dimensions and ensuring compatibility with the Cricut machine. Set the design dimensions according to the desired sticker size, allowing for any additional margins. Check the design’s resolution, aiming for at least 300 DPI for clear results. Adjust the color mode to CMYK for optimal print quality, ensuring colors appear as intended on adhesive materials. Lastly, use a bleed area if necessary to prevent white edges during cutting.
Cutting and Finishing Your Stickers
Cutting and finishing stickers involves careful preparation and attention to detail. Proper setup ensures efficient cutting, while finishing touches enhance the final product’s appeal.
Setting Up Your Cricut Machine
Setting up a Cricut machine starts with ensuring all components are correctly assembled. Users must plug the machine into a power source and connect it to a computer or mobile device via USB or Bluetooth. After opening Cricut Design Space, it’s essential to select the correct machine model from the dropdown menu. Next, users should load the appropriate cutting mat, ensuring the adhesive side faces up, and position the material for cutting. Following this, selecting the right material type in the software optimizes the blade settings for best results. Checking that the blade is clean and sharp maximizes cutting precision.
Cutting Your Stickers
Cutting stickers requires careful adherence to design specifications. Users should set the blade depth and pressure according to the material selected, such as vinyl or cardstock. After confirming the design in Cricut Design Space, sending it to the machine initiates the cutting process. It’s crucial to monitor the cutting to ensure the machine operates smoothly. Once the cutting is complete, users should carefully peel away the excess material to reveal the stickers. Using a weeding tool helps eliminate tiny pieces left in intricate designs, ensuring a clean finish. Properly allowing the stickers to rest before handling enables better adhesion.
Applying Finishing Touches
Applying finishing touches enhances the sticker’s durability and appearance. Users may choose to laminate their stickers for added protection against water and scratches. Applying a clear adhesive laminate sheet ensures a professional finish. After laminating, it’s important to trim the edges to match the sticker shape precisely. Incorporating a backing layer can further enhance the sticker’s structure, making it easier to apply. For added flair, users can experiment with glitter or other embellishments before finalizing the project. Ensuring the stickers are stored flat in a cool, dry place helps maintain their quality until use.
Tips and Tricks for Stunning Stickers
Creating stunning stickers involves a blend of creativity, technical skills, and knowledge of design principles. Implementing effective techniques can elevate sticker designs significantly.
Color Theory and Design Principles
Understanding color theory enhances sticker design. Designers should consider the following tips:
- Color Harmony: Utilize complementary color pairs to create visual interest. For example, blue and orange often result in a striking contrast.
- Color Psychology: Choose colors based on their emotional impact. For instance, blue conveys calmness, while red evokes excitement.
- Contrast: Ensure adequate contrast between colors for visibility. Light text on a dark background improves readability.
- Balance: Maintain visual balance in designs by distributing elements evenly. A well-balanced sticker attracts attention without overwhelming the viewer.
Focusing on these principles creates effective and visually appealing sticker designs.
Common Mistakes to Avoid
Avoiding common pitfalls leads to improved sticker quality. Consider these mistakes:
- Ignoring Material Compatibility: Different materials require specific designs. For example, vinyl adheres well but may require simpler shapes compared to paper.
- Neglecting Resolution: Low-resolution images result in pixelated stickers. Designers should use high-resolution graphics, ideally 300 DPI or higher, to ensure crisp output.
- Overcomplicating Designs: Cluttered designs can confuse viewers. Simple, bold designs often make a stronger impact than intricate ones.
- Forgetting to Test Cuts: Failing to perform test cuts can lead to wasted materials and time. Conducting a test cut on scrap material ensures proper blade settings and design functionality.
Identifying and avoiding these mistakes streamline the sticker design process, resulting in more polished end products.
Cricut Stickers
Designing stickers for a Cricut machine opens up a world of creativity and personalization. With the right tools and techniques, anyone can create unique and professional-looking stickers that serve various purposes. By understanding the design process and avoiding common pitfalls, designers can elevate their projects and produce eye-catching results.
Whether for personal use or small business ventures, the versatility of Cricut stickers makes them an invaluable resource. Embracing the tips and tricks shared in this guide will empower users to explore their artistic potential and make the most of their Cricut machine. Now it’s time to unleash creativity and start designing stunning stickers that stand out.


