Drawing a skull might seem like a daunting task, but it doesn’t have to be. With the right approach and design personality understanding, it can be a delightful journey into the world of anatomy and art. Whether you’re an aspiring artist or a seasoned pro looking to refine your skills, this article is for you.
Drawing:oldj_7nsvxk= Skull
Key Features of Skull Anatomy
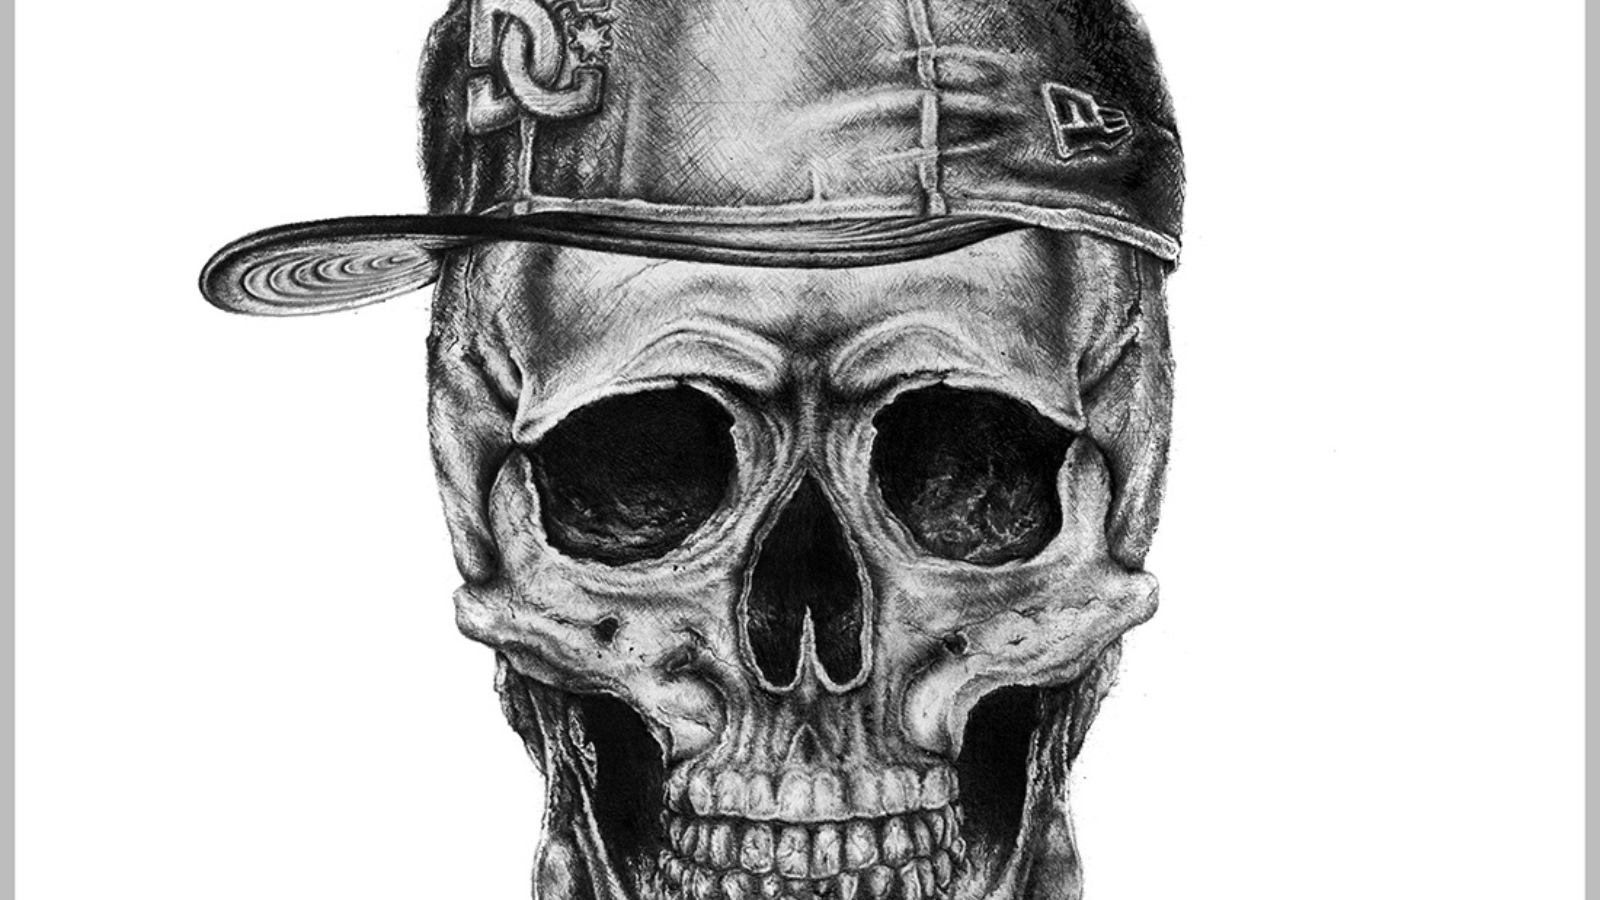
 When artists study the skull’s structure, they encounter distinct features. The cranium’s oval shape, the eye sockets’ square form, and the jaws’ powerful structure are major aspects. These form the base structure of every face, providing a scaffold for the soft tissue features.
Precision holds paramount importance while drawing skulls, much hinges on proportions. Incorrect proportions can quickly lead to unrealistic depictions. Accurate proportions, on the contrary, deliver credibility to the depiction. Hence artists must measure and compare distances between features, contextualizing the skull’s overall geometric and structural integrity.
Tools and Materials for Drawing Skulls
Best Pencils and Papers
When drafting a skull, artists find that graphite pencils, particularly 2B, B, or HB grades, offer a desirable range of contrast. For paper, heavyweight drawing papers of around 200gsm are recommended, maintaining an ideal surface for pencil’s subtle texture.
Using Digital Tools for Skull Illustrations
The digital world isn’t left out in skull illustration. Digital tools like Adobe Illustrator and Photoshop, along with hardware such as graphic tablets, empower artists to bring skull sketches to life. Artists may create layers, use customizable brushes, and make precise edits with ease to achieve desired depth and detail.
Step-by-Step Guide to Drawing a Skull
Setting Up Your Workspace
A functional workspace accelerates the drawing process. Position sketching materials for easy reach. Traditional artists might choose a well-lit table, cushioning their heavyweight paper on a flat board. Digital sketchers should organize Adobe Photoshop or Illustrator windows for quick access.
Sketching the Basic Shape
 The skull’s basic shape—a flattened sphere—forms the drawing’s foundation. Commence with a lightly penciled oval. Partition this oval with vertical and horizontal lines marking the eye sockets’ bout. This acts as the guide for additional facial features.
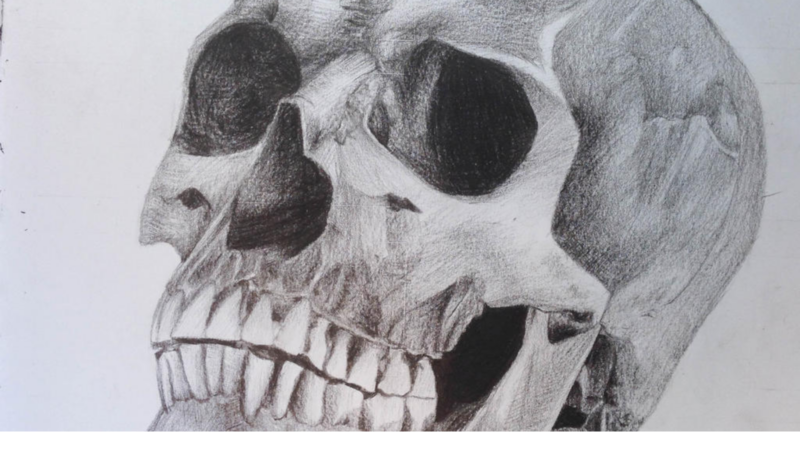
Intricate details enliven a skull sketch. Circular openings signify eyes; a triangular hollow represents the nose, and an arched line denotes the mouth. Use B or HB grade pencils for detailing and 2B grade ones for contrast shading. In digital practice, employ layers for depth and customizable brushes for detail.
Common Challenges in Drawing Skulls
Managing Symmetry and Alignment
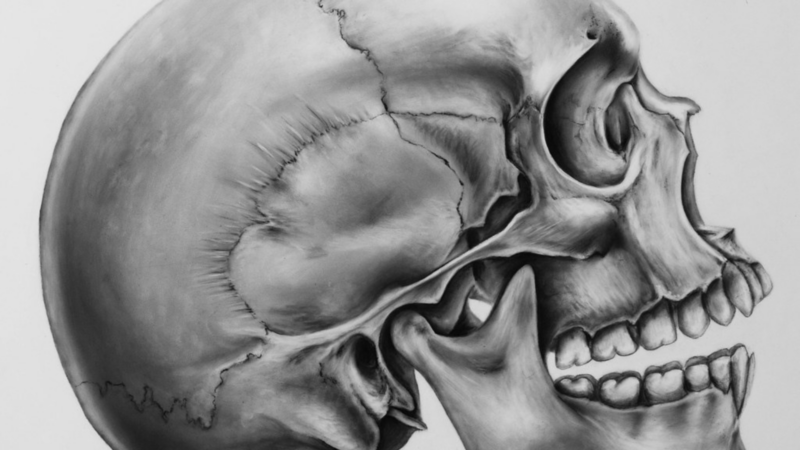
Maintaining symmetry in a skull drawing often poses a major challenge for artists. Absolutely critical for capturing the likeness of a skull, rigorous symmetry requires a good deal of practice and precision. For instance, paying close attention to the evenness of the eye sockets, the alignment of the jaw to the cranium, and the positioning of the teeth can help attain more symmetry.
Handling Light and Shadow
Equally daunting is the issue of managing light and shadow on a skull drawing. Understanding how light hits the skull’s surface, the shadows it creates, and where the light highlights are, contribute vastly to the dimensionality and depth of the drawing. For example, achieving true blacks in shadow regions, figuring out mid-tones, and preserving the white of the paper for highlights may provide a better grasp on capturing realistic light and shadows.
Tips and Techniques for Realistic Skull Drawings
Texturing Techniques
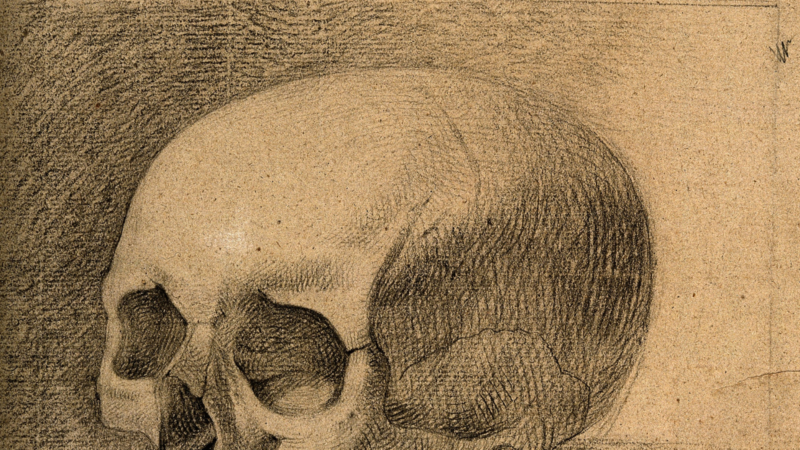 Artists can achieve varying textures in skull drawings through controlled strokes and utilizing hatching or cross-hatching. These techniques, by alternating the direction and density of strokes, create a textured appearance. It’s a valuable practice, for example, to indicate rough bone texture and fissures on the skull’s surface.
Depth and realism in skull drawings hinge significantly on the effective use of light and shadow. A crucial technique involves understanding the tonal values: the darkest areas represent deep cavities and shadows while lighter tones indicate protruding parts. The correct gradient between these tones results in a three-dimensional effect, essentially conveying the skull’s real volume.
Realistic Experiences
Understanding the anatomy of the skull is key for artists who aim to create realistic facial depictions. They’ve learned how to use both traditional and digital tools effectively. They’ve tackled the challenges of maintaining symmetry and handling light and shadow. The article has also shed light on advanced tips and techniques like using controlled strokes and hatching for texturing. They’ve delved into the importance of light and shadow to convey tonal values and achieve a three-dimensional effect.