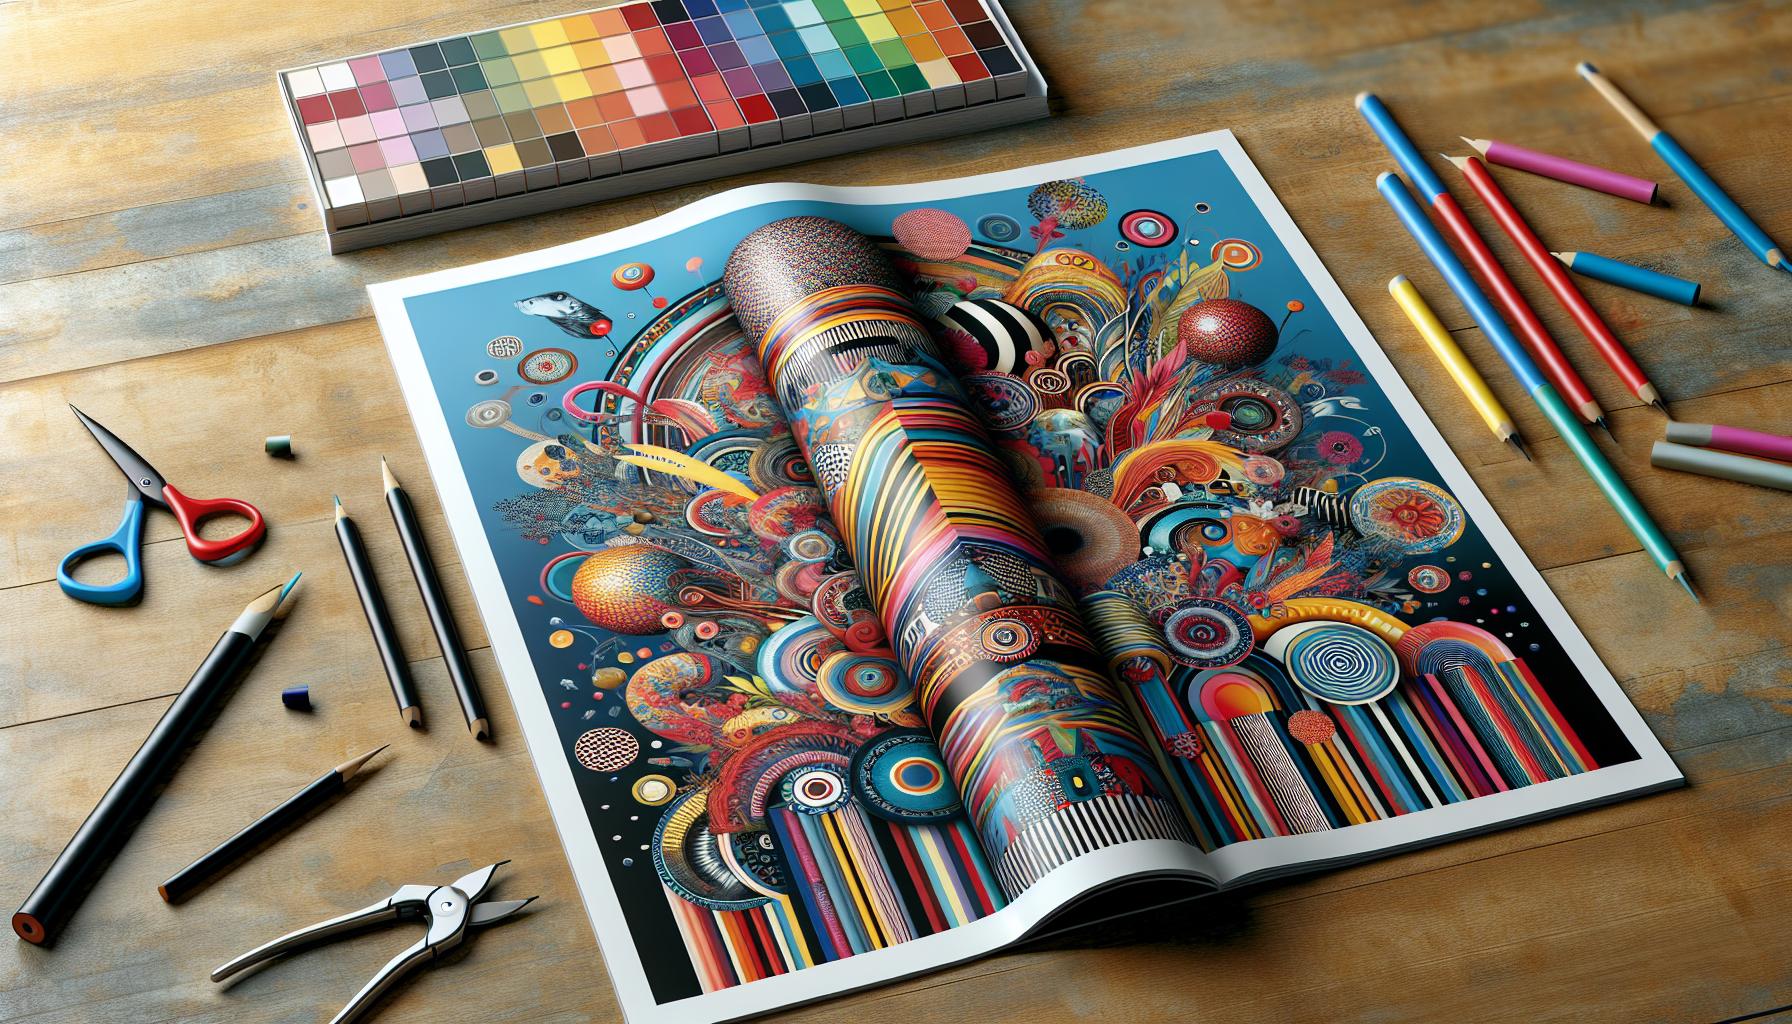
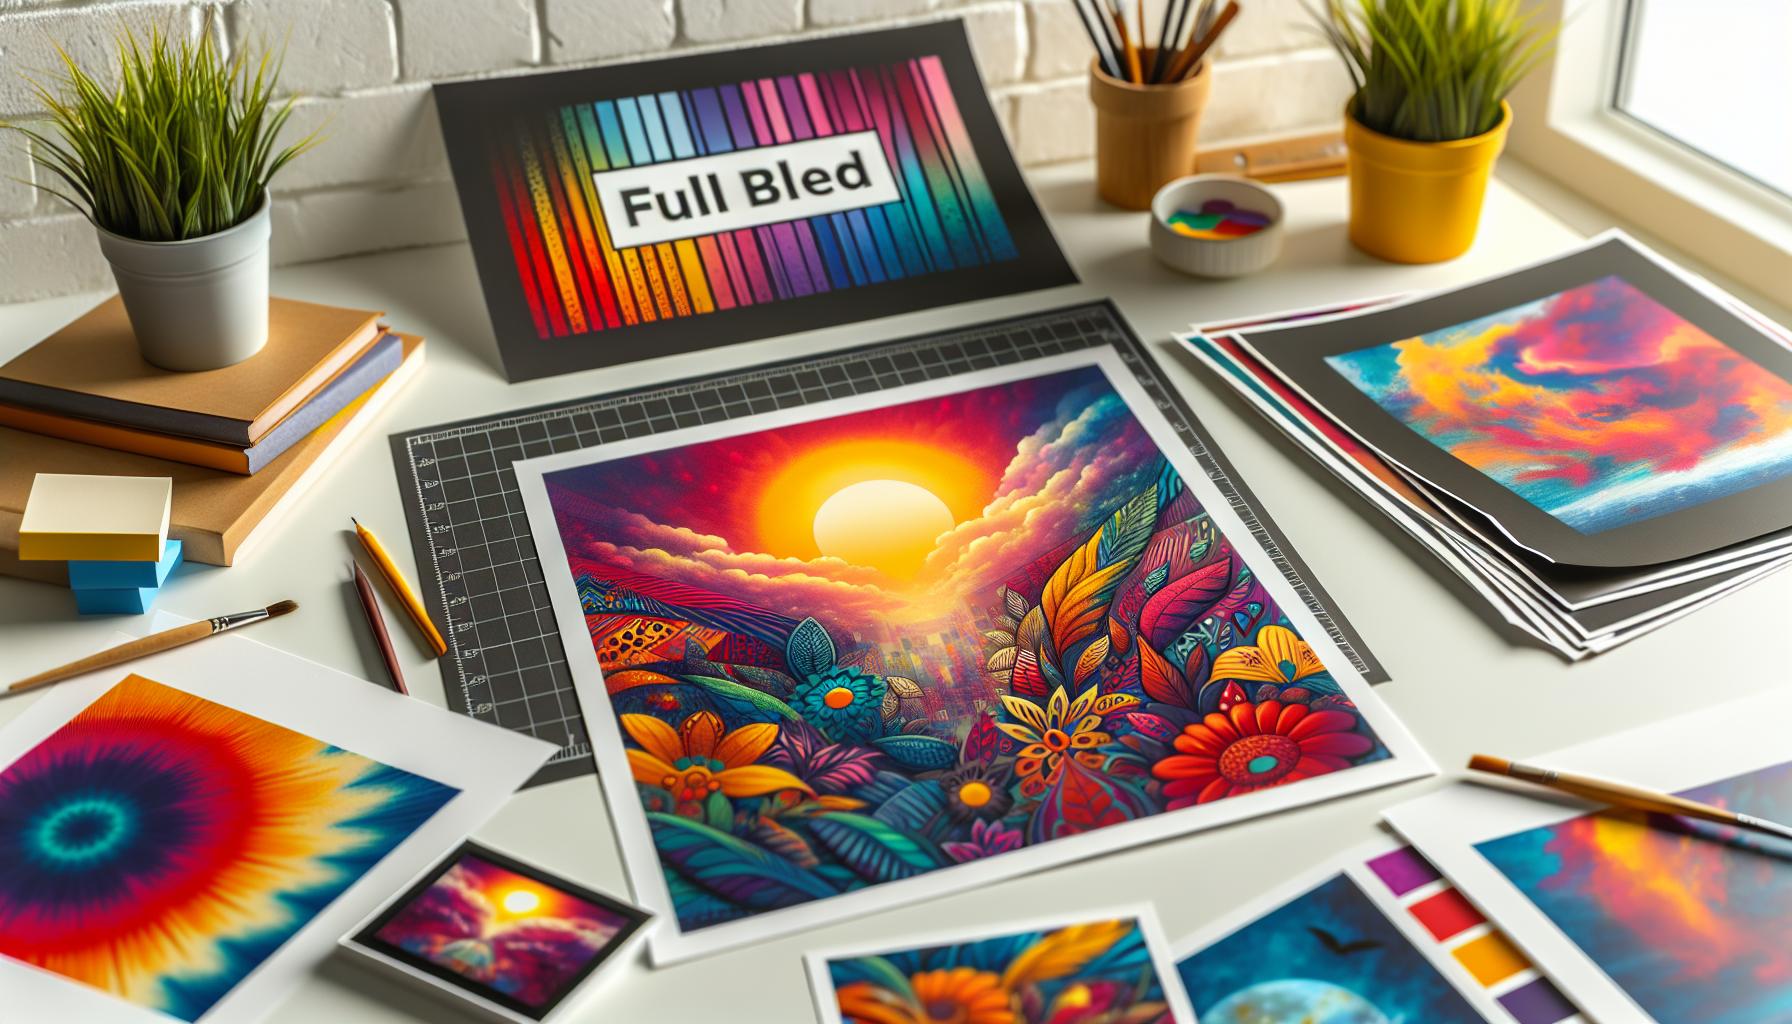
In graphic design, the term “bleed” plays a crucial role in ensuring a polished final product. It refers to the area outside the intended trim of a printed piece, allowing colors and images to extend beyond the edges. This technique prevents unwanted white borders from appearing after trimming, ensuring that the design maintains its visual impact.
Understanding bleed is essential for designers looking to create professional-quality prints. It’s not just a technical detail; it’s a fundamental aspect of preparing artwork for production. Knowing how to effectively use bleed can elevate a design from average to exceptional, making it a vital concept in the graphic design toolkit.
Table of Contents
ToggleWhat Does Bleed Mean in Graphic Design
Bleed in graphic design refers to the area extending beyond the trim line of a printed piece. Its primary purpose is to ensure that images and colors reach the edge of the finished product.
Definition Of Bleed In Graphic Design
Bleed represents the section of a design that extends beyond the intended cut line. Typically, this area is 1/8 inch (0.125 inches) beyond the trim. Designers incorporate bleed to allow for slight misalignments during cutting, safeguarding against unintentional white borders.
Importance Of Bleed In Layouts
Bleed plays a crucial role in layouts by enhancing visual appeal and consistency. Without bleed, any slight error during trimming could compromise the design’s integrity, causing unwanted borders. Incorporating bleed ensures that printed materials look professional and are free from such flaws. Proper bleed settings also improve overall production efficiency by keeping designs within acceptable cutting tolerances.
Types Of Bleed
Understanding the different types of bleed in graphic design helps designers choose the right approach for their projects. The two main types of bleed are full bleed and partial bleed.
Full Bleed
Full bleed refers to designs that extend all the way to the edges of a printed piece. This approach requires the artwork to include a 1/8 inch margin beyond the trim line on all sides. Full bleed is common in marketing materials, such as brochures and posters, where visuals fill the entire space. This technique enhances the visual impact of designs and ensures vibrant colors and images reach the paper’s edge, providing a seamless appearance.
Partial Bleed
Partial bleed involves designs that do not extend to the edge of the paper. This type typically features a margin between the artwork and the trim line, which can range from 1/16 inch to 1/8 inch. Partial bleed is often used for designs that include borders or need defined edges, such as business cards or stationery. This approach allows for better placement of text and graphics without risking important elements being trimmed off, maintaining clarity and balance in the design.
Common Uses Of Bleed
Bleed plays a crucial role in various graphic design applications, particularly in print and digital formats. Below are common uses of bleed in graphic design.
Print Materials
Bleed is essential in print materials, ensuring designs extend beyond the trim area. This application prevents unwanted white edges after cutting. Common print materials using bleed include brochures, flyers, posters, and business cards.
- Brochures: Designs incorporate full bleed to create striking visuals that capture attention.
- Flyers: Bleed allows images and colors to fully envelop the page, enhancing overall impact.
- Posters: Full bleed designs promote seamless imagery, making them ideal for high-visibility use.
- Business Cards: Partial bleed maintains crisp edges while allowing bordering designs without compromising clarity.
- Social Media Graphics: Full bleed designs ensure engagement and a polished appearance across platforms.
- Website Layouts: Bleed can create immersive backgrounds that enhance user experience.
- Digital Presentations: Incorporating bleed allows for dynamic slides that closely resemble printed materials.
- Advertising Banners: Full bleed maximizes visual space, drawing attention effectively in digital environments.
How To Set Up Bleed In Design Software

Guidelines For Adobe Photoshop
- Create New Document: Open Adobe Photoshop, select File, then New. Set dimensions larger than the final trim size by adding 1/8 inch (0.125 inches) to each side.
- Set Bleed in Document Options: In the New Document window, enter the final size plus bleed values in the Width and Height fields. For instance, for a size of 8.5 x 11 inches, input 8.75 x 11.25 inches.
- Guides for Visual Reference: Enable guides by clicking View > New Guide. Choose vertical and horizontal guides placed at the trim line (1/8 inch within the document’s edges) to visualize the bleed area.
- Design Your Artwork: Create the design, ensuring all colors and images extend to the edges of the document.
- Exporting for Print: When exporting, select File > Save As or Export. Choose a format such as PDF, PNG, or TIFF, and ensure the bleed settings are retained by checking “Use Document Bleed Settings” if available.
- Create New Document: Open Adobe Illustrator, click on File and select New. Input the final trim size and add 1/8 inch (0.125 inches) to each dimension under Bleed settings.
- Adjust Bleed Settings: In the New Document dialog, locate the Bleed section and enter 0.125 inches for all sides. This creates visual guides directly in the workspace.
- Utilize Artboards Effectively: Use the Artboard tool to define your workspace while considering bleed margins. Ensure to design elements beyond the trim line.
- Design Your Artwork: As with Photoshop, extend designs to the edge of the bleed area. Important elements should remain inside the trim line to prevent them from being cut off.
- Exporting for Print: When saving the final artwork, select File > Save As. Choose a format like PDF, and in the export settings, select “Use Document Bleed Settings” to include the bleed in the output.
Using these guidelines ensures proper setup and execution of bleed in Adobe Photoshop and Illustrator, leading to polished and professional print materials.
The Concept Of Bleed
Understanding bleed in graphic design is vital for creating high-quality printed materials. It not only prevents unwanted white borders but also enhances the overall visual appeal of a design. By incorporating proper bleed settings, designers can ensure their work maintains its integrity throughout the printing process.
Whether using full bleed for impactful visuals or partial bleed for balanced layouts, mastering this technique elevates a designer’s work. With practical guidelines in design software, anyone can effectively implement bleed and achieve professional results. Embracing this essential aspect of graphic design can lead to more polished and engaging print products.


