It’s 2024, and by now, we all have vision boards for what our dream home should look like.
Some of those boards depend on at least one family member winning the lottery, while others are modest versions of what we think we can achieve with our current budgets.
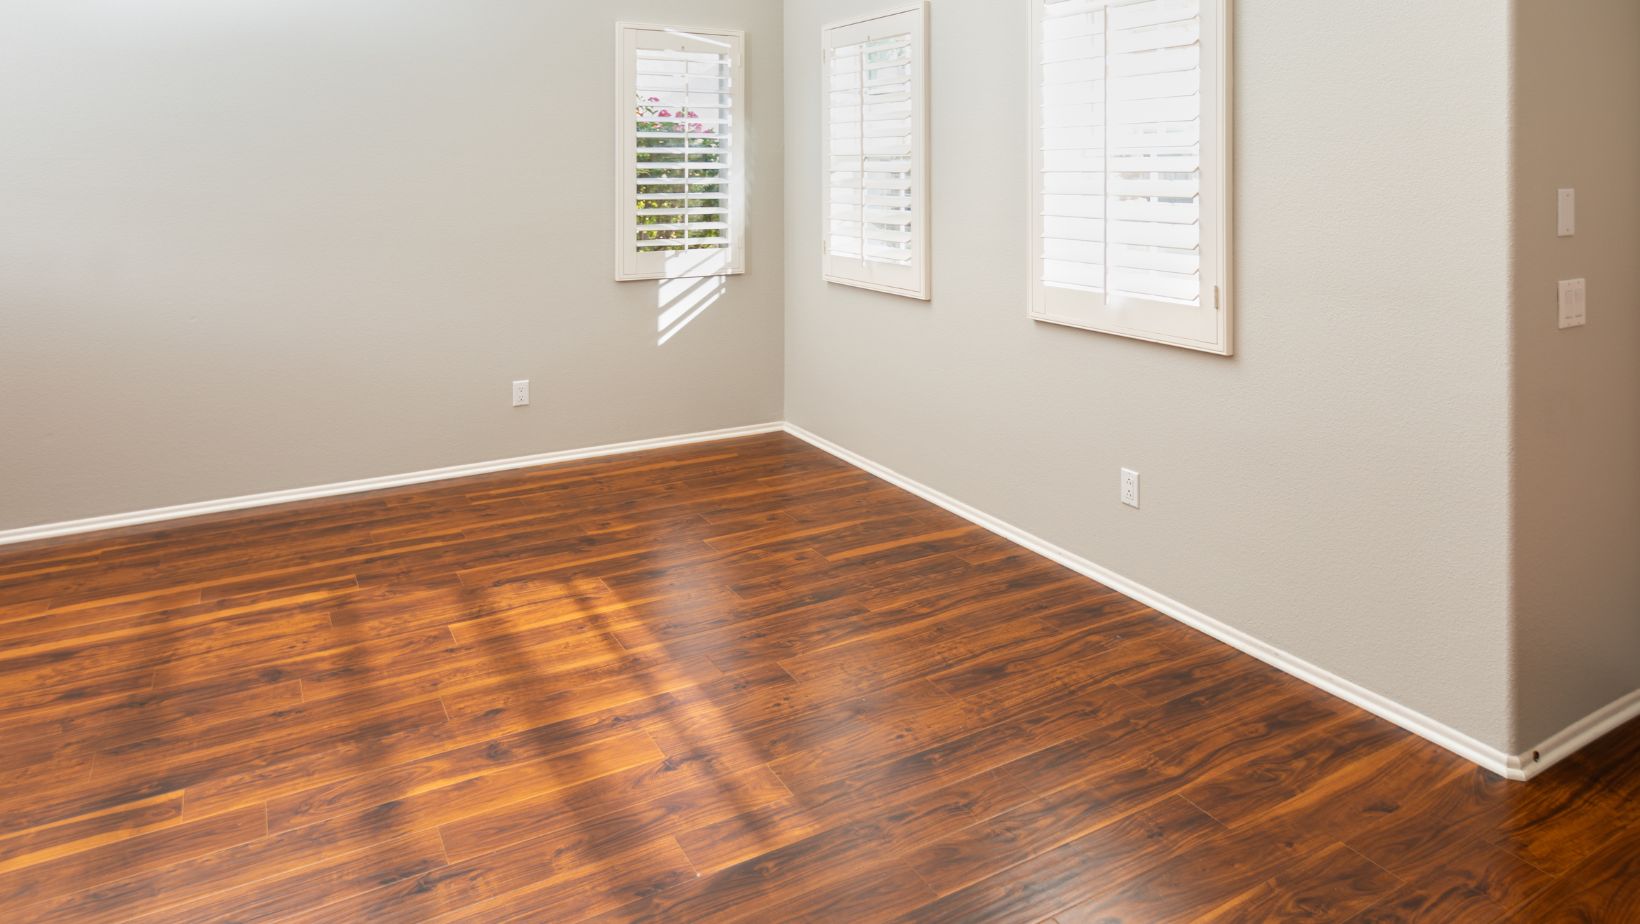
Regardless of the board’s origin, most dream homes contain laminate flooring. Laminate floors are durable and harder than hardwood, and they are great for high-traffic areas or families with pets and kids.
To install your laminate flooring yourself, follow these five simple steps below to do the job successfully:
1. Prepare The Area
Carry out all furniture items before getting to work.
Not only will that make the job easier, but it will also protect your furniture from damage. If the room is large enough, move everything to one side and lay half the flooring at a time.
If your room has shoe molding running along the baseboards, you will need to remove it before laying down the new floor. After installing the laminate floors, you will need to replace the shoe molding, so be careful not to damage it while prying it up.
2. Acclimate The Planks
Flooring planks are sensitive to temperature fluctuations and humidity, shrinking in hotter conditions and contracting in cold and dry air. Give your new floorboards enough time to get used to your home’s specific climate before attempting to install them.
Place the boxes of planks in the center of the room and leave them there for at least 2 to 3 days before beginning the installation. Do not move them while they are acclimating, you will thank yourself later.
3. Strategize Layout
Make sure to strategize your layout before you start.
Lay out your new Mohawk RevWood laminate flooring in the direction you envision for the room. Do not lock them together yet, as they can be tricky to undo.
This will give you a good idea of how the room will look when the job is done and allow you to check that you have enough material to complete it.
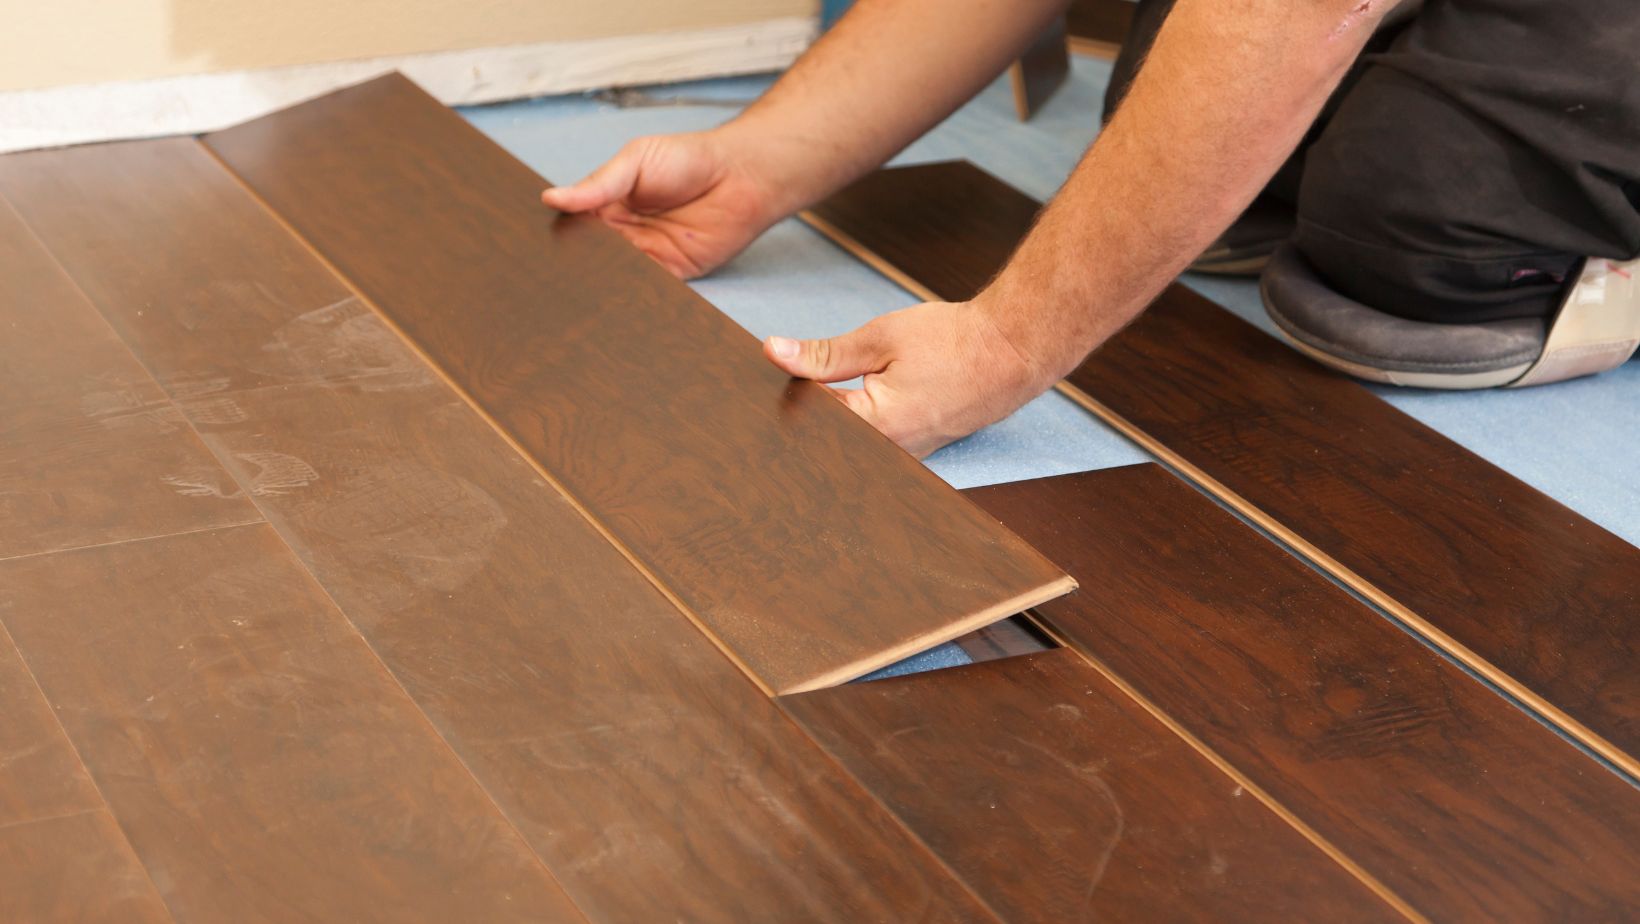
4. Puzzle Technique
Much like the long-standing jigsaw puzzle technique of establishing the frame first, the same rules apply to laminate floor installations.
Trim the tongues off the boards that will edge the first wall. You can cut laminate flooring with a circular saw, laminate cutter, or even a hand saw in a pinch.
Once you have mapped out how you want the flooring to run, interlock each piece to create a long plank. Fill the first row along the wall with the custom-cut plank.
After that, work from the right side of the room to the left and be sure to leave a gap between the planks and the wall.
5. Flat Subfloor
This point cannot be stressed enough; a flat subfloor is essential to this process.
Ignoring the subfloor and not ensuring it is flat will cause gaps and could lead to broken planks. You can check the straightness of your subfloor before installation by using a straight-edge tool.
Final Thoughts
Check for high and low spots and either grind them down or fill them in before starting the job. Installing laminate flooring can be a DIY job, but it needs to be well-planned and carefully thought out.
By following these steps, you can avoid any unnecessary drama during the project – which should only take a few days.